We use cookies to help provide you with the best possible online experience.
By using this site, you agree that we may store and access cookies on your device. Cookie policy.
Cookie settings.
Functional Cookies
Functional Cookies are enabled by default at all times so that we can save your preferences for cookie settings and ensure site works and delivers best experience.
3rd Party Cookies
This website uses Google Analytics to collect anonymous information such as the number of visitors to the site, and the most popular pages.
Keeping this cookie enabled helps us to improve our website.
Clinical Photographs
A guide for patients taking clinical photographs using a mobile device like a smartphone / tablet
1. Make sure the lens is clean and use the front camera as they are better quality than those that look at your face.
2. Try not to have any distractions in the background, e.g. use a plain wall as a background.
3. Try not to face a window or light when taking the photograph.
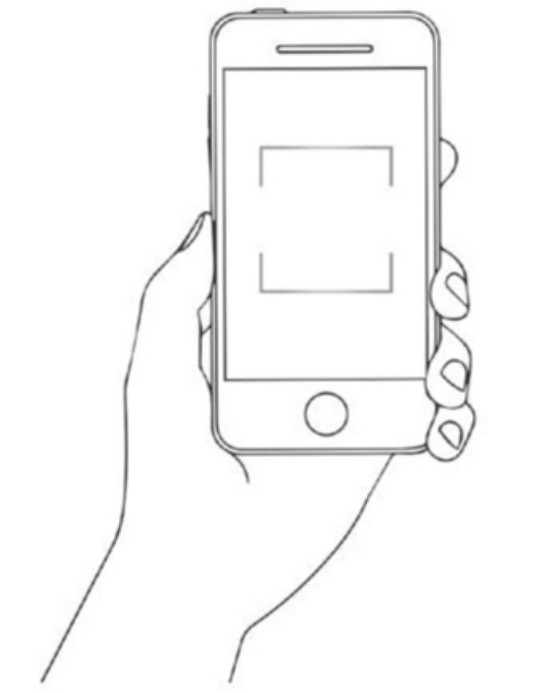
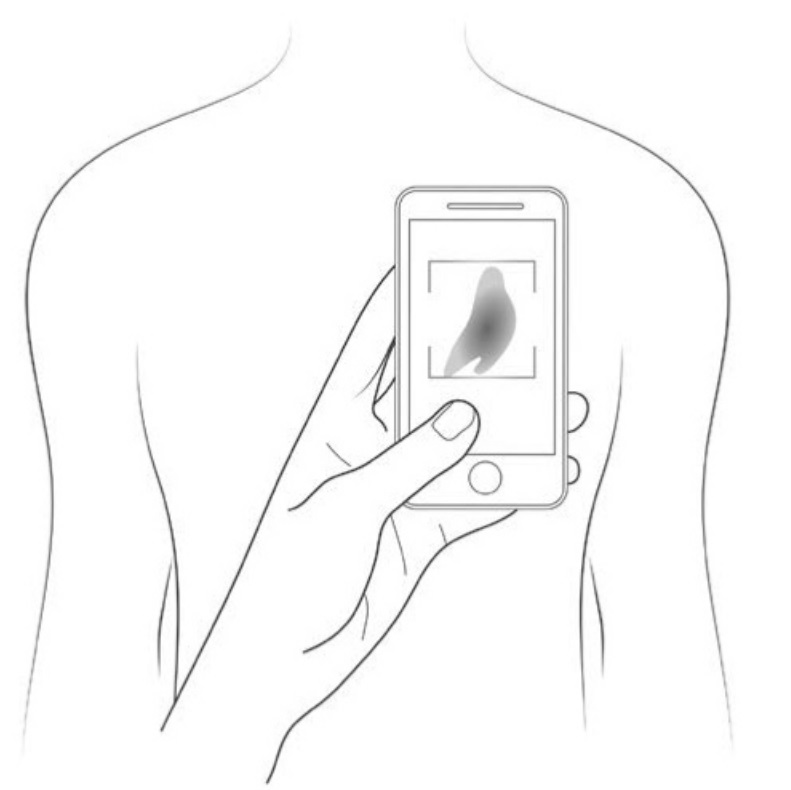
4. Put the area of interest in the middle of the frame
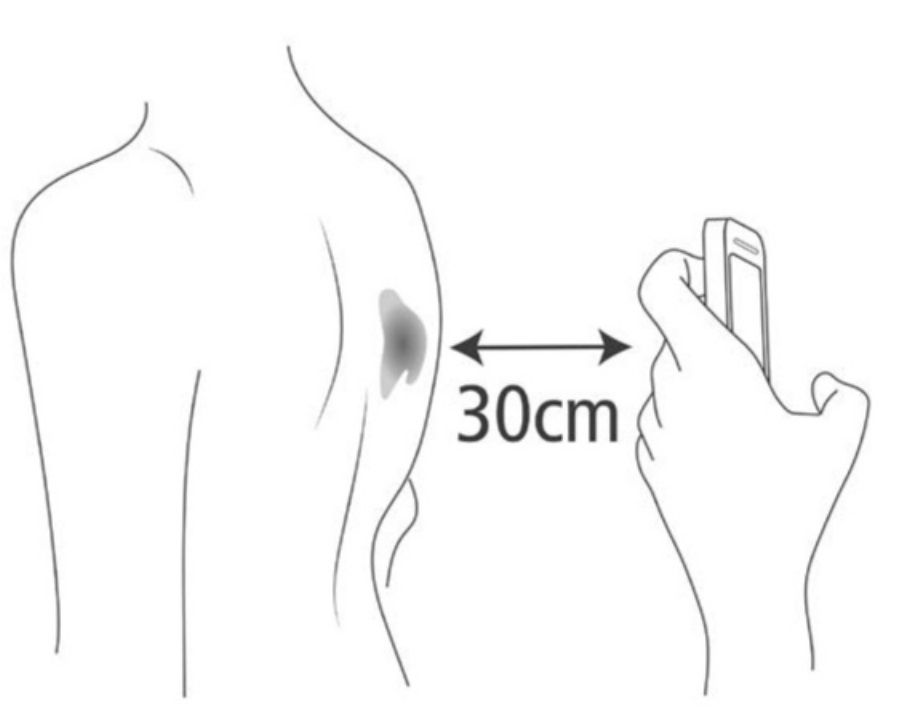
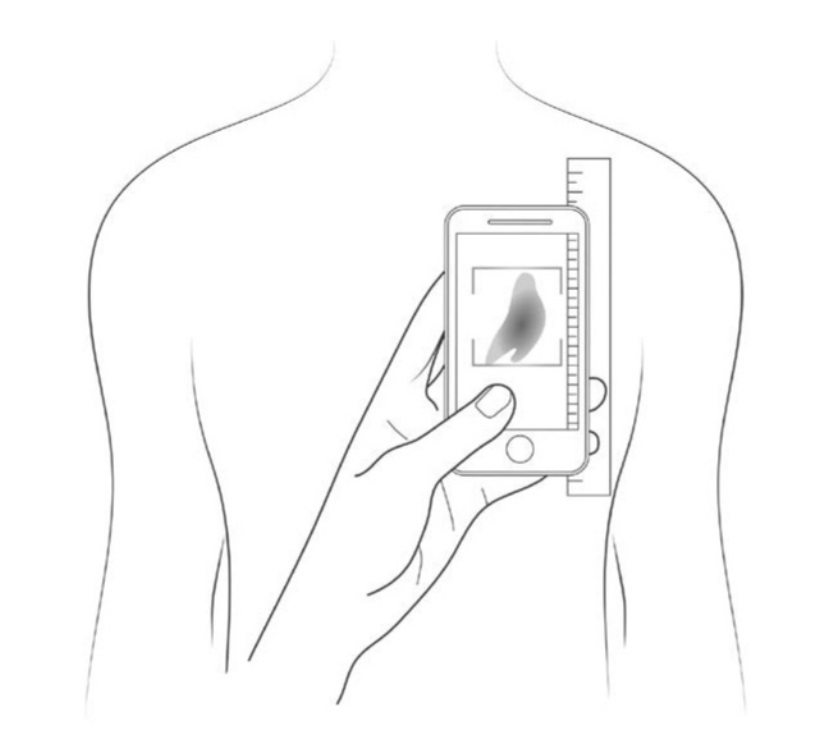
5. Don’t position the mobile device too close to the lesion / area that is being photographed, it can create distortion, about 30cm’s away should be about right.
6. Don’t zoom in too close this can degrade the image, the person viewing the image can enlarge the area on the screen if they need to see more detail, so long as it is not too small.
7. Make sure the focus is on the lesion / area of interest.
- A blurred photograph is of little or no clinical value.
8. Position the mobile device to try and take the photograph the right way up.
9. It is ideal to hold the mobile device directly in line with the area of interest.
10. Place an item such as a coin or ruler near the lesion to give an idea of scale.
- Make sure the final photograph is a true likeness of the area that is being photographed.
- When sending the photograph, try to size it to be about 1MB.
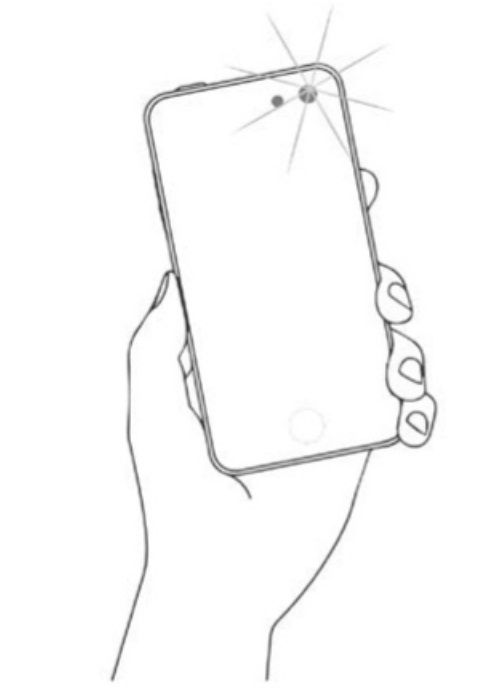
11. Take a few images, with and without flash. Remember to hold the mobile device very still.
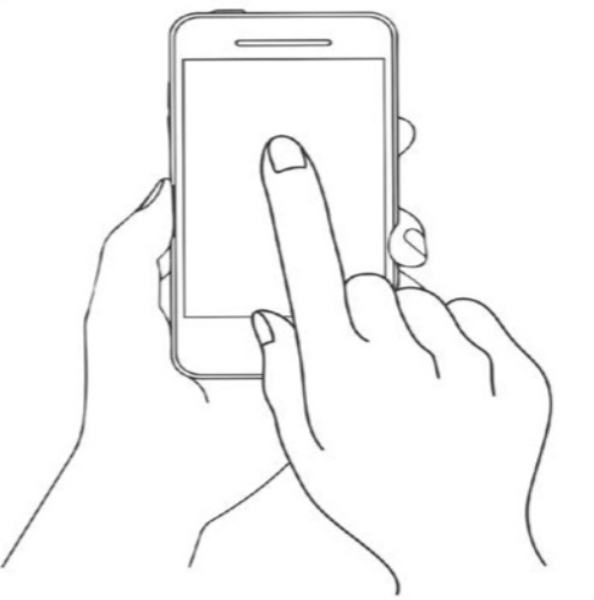
12. If you are still struggling to focus or the image is too bright, tap the screen over the area of interest and these issues should be corrected.
Providing NHS Services